
OpenSpecimen Study Catalog Instructions
- When the Data at a Glance page loads, navigate to the top right side of the screen and click on the blue “View Catalog” button.
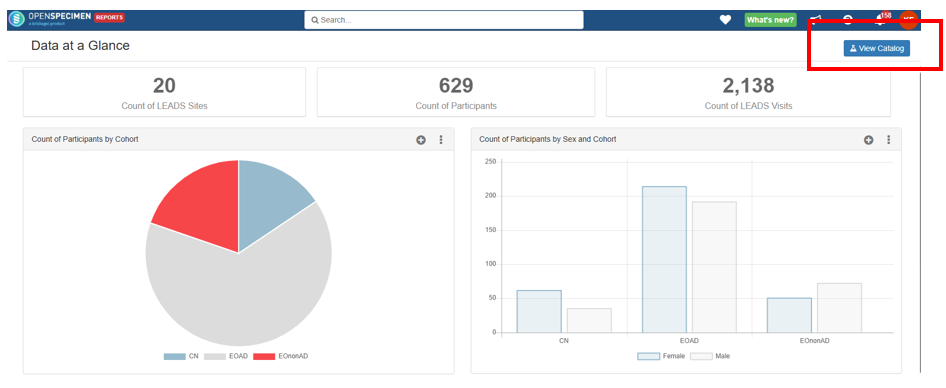
- The study Catalog Dashboard should appear listing filters along the left side of the screen and a blue “Cart” button along the top.
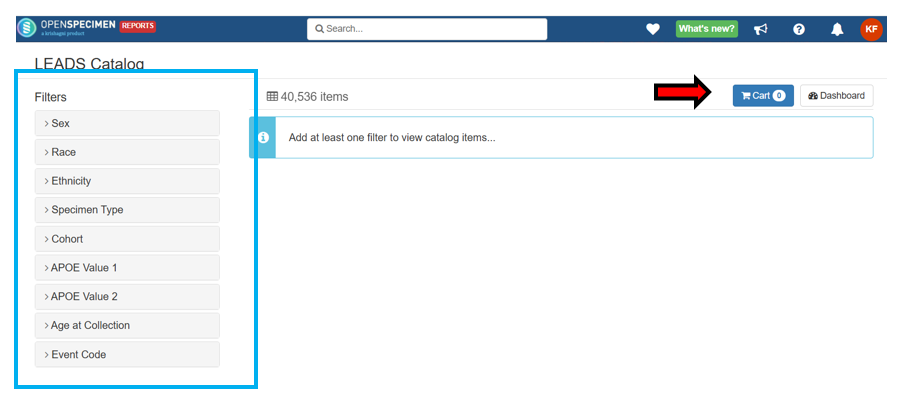
- At least one filter will need to be selected for any specimens to appear on the screen. To see all samples, select all options in a filter.
- Once a filter is chosen, a list of specimens will appear based on the criteria chosen in the filter with the default columns displayed. To see the default columns and Filter Dictionary for a study, please select that study from the menu on the left and download its study‑specific Filter Catalog located near the bottom of the study page.
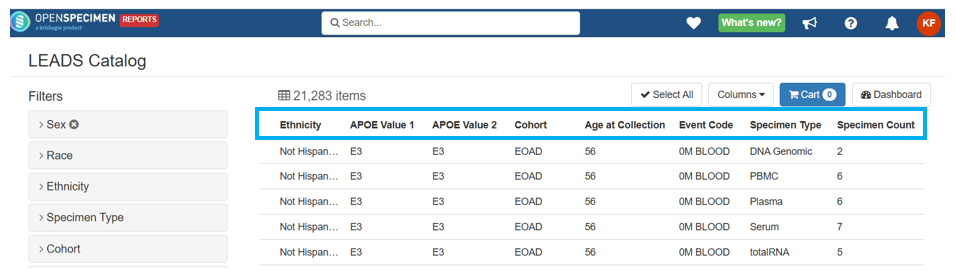
- The small “x” next to each filter name indicates that a filter for that column has been chosen.
- To remove all selected options in a specific filter, clicking on this “x” will wipe the filter clean and display all options.

- To remove all selected options in a specific filter, clicking on this “x” will wipe the filter clean and display all options.
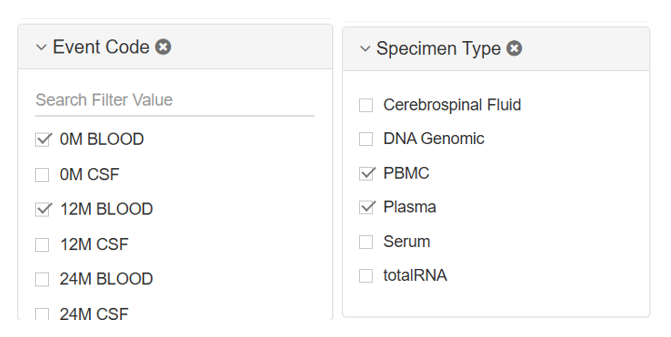
- As each filter is selected, the list of specimens will update to match the chosen filter criteria.
- Multiple options can be selected in each filter, for example Baseline (0M) and 12 Month (12M) visits or Plasma and PBMCs in the LEADS Study Catalog.
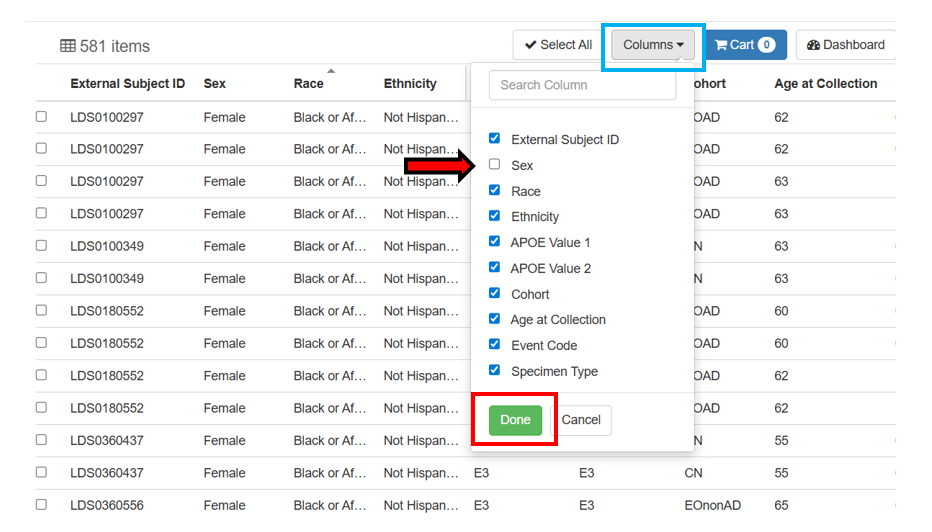
- Any of the displayed columns can be removed by clicking on the “Column” drop down button along the top of the screen and removing the check from the box next to the column that needs to be removed.
- Click on the green “Done” button when finished selecting the columns to remove.
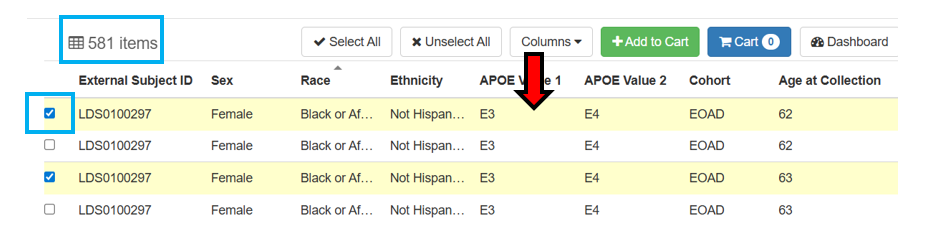
- Note the sum in the top left corner is the sum of the total of the sample count and is not the count of the sample rows.
- When ready to choose specific specimens for a request, this can be done by clicking anywhere in the row of the specimen so that it highlights a pale-yellow color and enters a check mark into the box on the far-left side of the row.
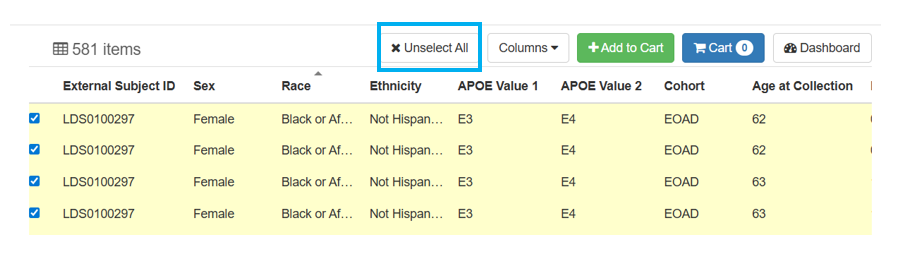
- If all the listed specimens are requested, clicking on the “Select All” button will automatically check all the specimens displayed.
- Once the preferred specimens have been selected, click on the green “+Add to Cart” button that displayed once the first specimen was selected.
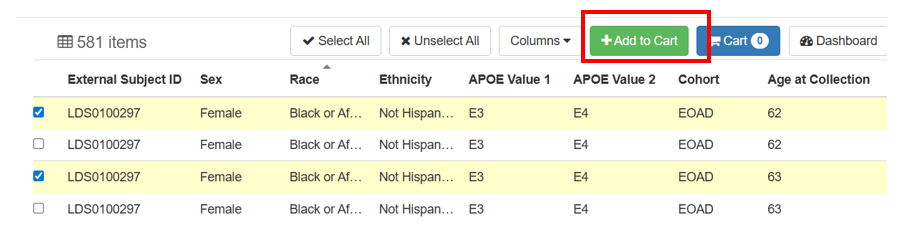
- The blue “Cart” button should now show the number of visits that were added.
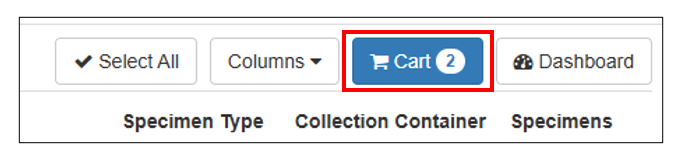
- To view the specimens added to the Cart, click on the blue “Cart” button with the listed number of specimens inside.
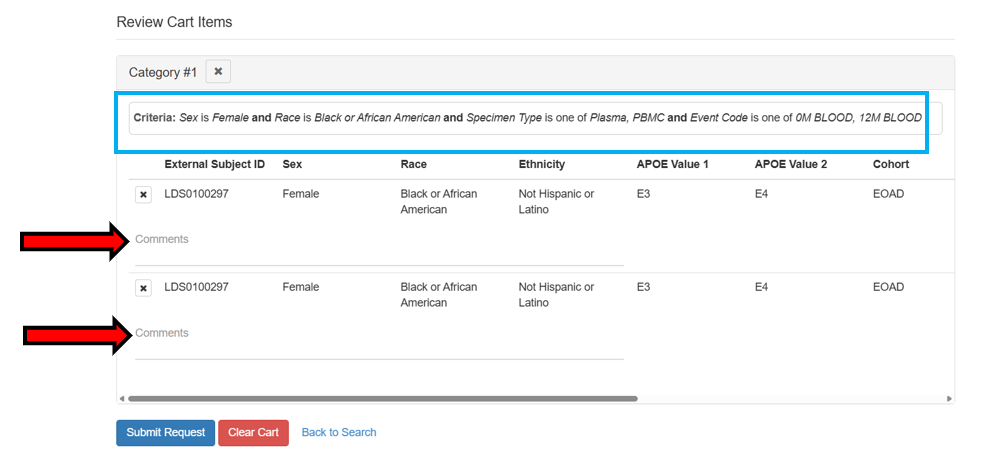
- The screen will load a “Review Cart Items” page listing the specimens added along with the criteria that was chosen from the filters to locate these specimens.
- There is a Comments section under each selected specimen for the requester to list any specifications
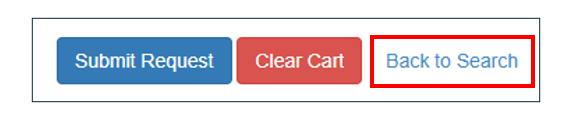
- If the requester wants to keep these specimens in the cart and continue searching, click on the “Back to Search” link at the bottom of the screen.
- If the requester wishes to clear the entire cart of specimens and start over, click on the red “Clear Cart” button to empty the cart and return to the study Catalog Dashboard.
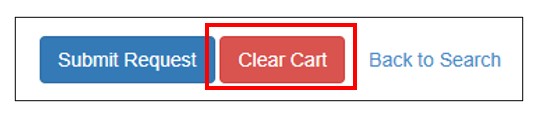
- If the requester has selected all the specimens needed, click on the blue “Submit Request” button.
- A “Submit Request” page will load. Fill out the following fields:
- Requestor (required)– search for the name of the person that requested the specimens from the study Catalog
- PI First Name (required) – List the first name of the Principal Investigator that is requesting the specimens
- PI Last Name (requested) – List the last name of the Principal Investigator that is requesting the specimens
- Submitter First Name (optional) – If the person submitting this request is not the Principal Investigator, list the first name of the submitting individual
- Submitter Last Name (optional) – If the person submitting this request is not the Principal Investigator, list the last name of the submitting individual
- Submitter Email Address (required) – List the email address of the individual that is requesting the samples
- Institution (required) – List the institution where the Principal Investigator is located
- Reason for Request (required) – choose one of the following reasons for requesting these samples:
- Feasibility
- Requesting Samples for study BRAC Application Submission
- Requesting Samples for Approved study BRAC Application
- When finished filling out the request form, click on the blue “Submit Request” button.
